

Mechanical Structure of the Machine Tool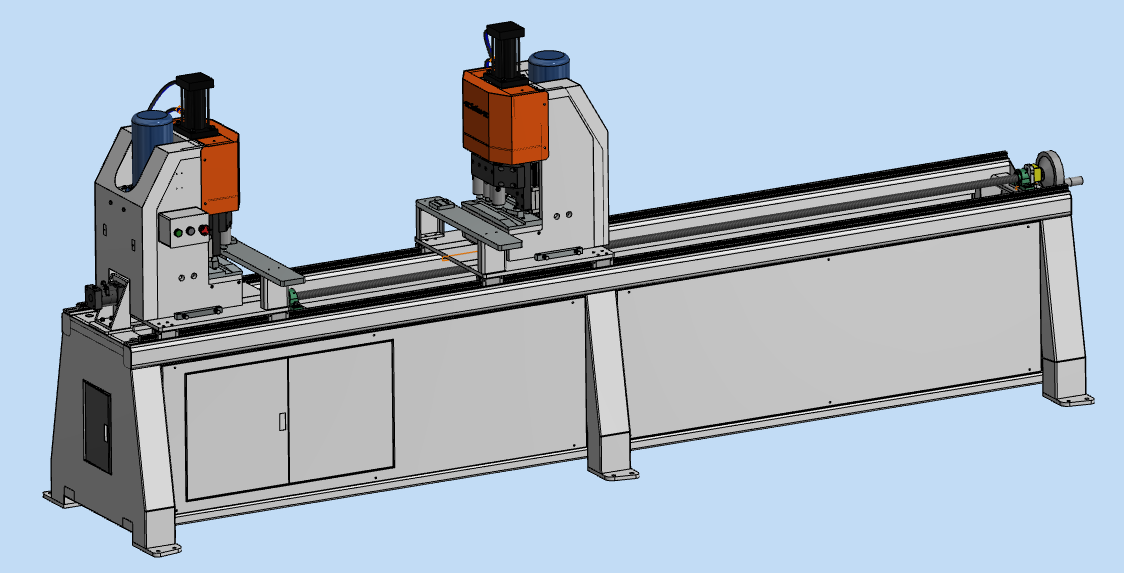
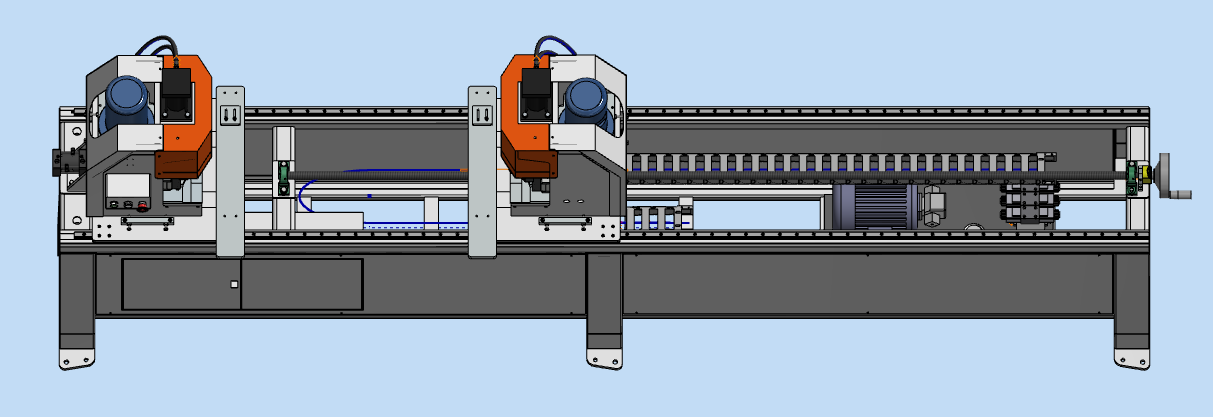
1.Normal Use, Setup, and Operating Procedures
This machine tool features excellent performance and advanced processing technology. Before operating the machine, carefully read this manual to ensure proper operation and maintenance under all working conditions and to achieve the highest level of safety.
1.1Ensure that the machine tool is properly grounded.
1.2Personal belongings can cause serious injury. Before starting the machine, remove and safely store items such as watches and bracelets. Fasten your cuffs, tie back long hair, remove your tie, and do not wear slippers.
1.3Do not process workpieces that are too small or too large. Determine the workpiece feed speed and processing volume according to the specific conditions. Do not operate the machine at excessive speed or under overload conditions.
1.4Confirm that the motor rotation direction is consistent with the required rotation direction of the equipment. After installing the saw blade, inspect it and ensure that it is securely tightened.
1.5Check that all safety guards are properly installed, and then close all doors securely.
1.6Before cleaning or repairing the machine, always stop the machine and disconnect the power supply. Place appropriate warning signs to alert nearby personnel.
1.7Clean the machine tool regularly. Keep all working surfaces inside the machine and the surrounding floor clean. This is essential for ensuring machining accuracy and extending the service life of the machine.
2.Basic Machine Tool Operation
2.1Install the rotary riveting head (already installed on new machines) and ensure that the hydraulic motor rotates in the correct direction.
2.2Connect the air supply.
2.3Adjust the pressure gauge so that the air pressure is within the range required by the machine tool, and turn on the power control knob.
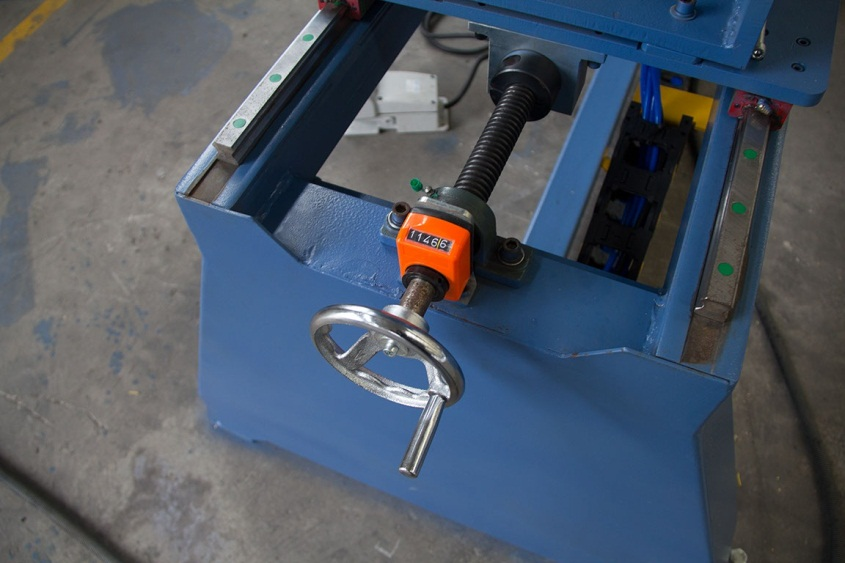
2.4Adjust the machining length of the machine tool.
Adjust the length directly to the required value. The length displayed on the position indicator is the machining length. After adjusting the position, tighten the adjustment lead-screw nut.
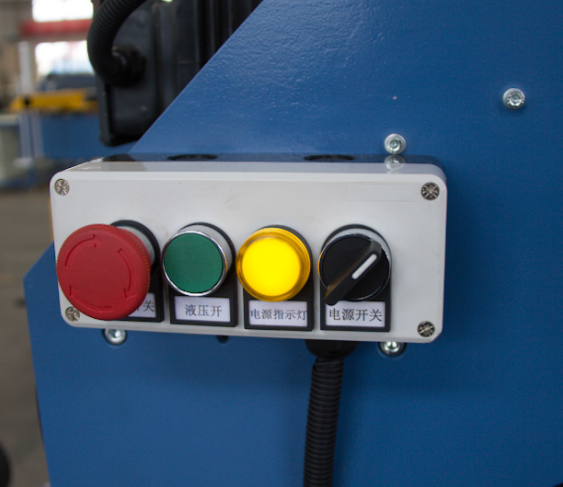
2.4.1 Turn on the power switch and start the hydraulic motor.
2.4.2 Adjust the front and rear stops and the left and right positioning guides.
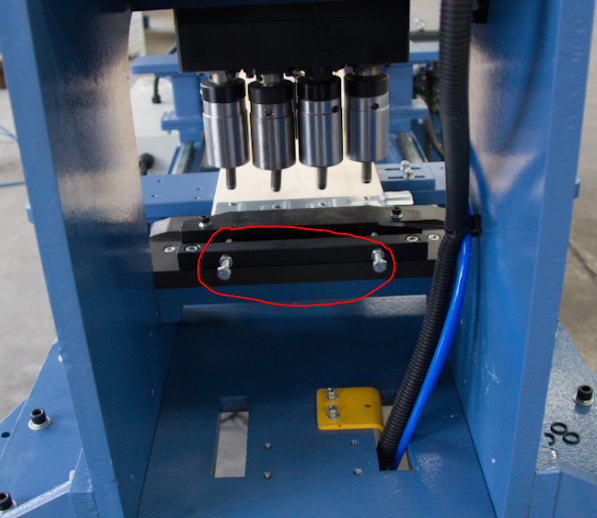
Left and Right Stops
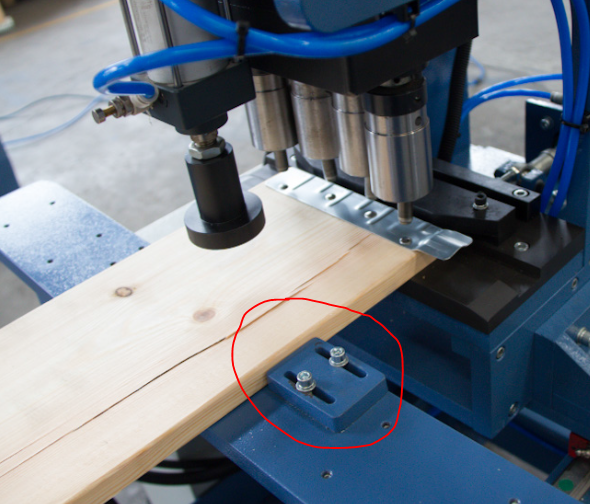
Rear Stop